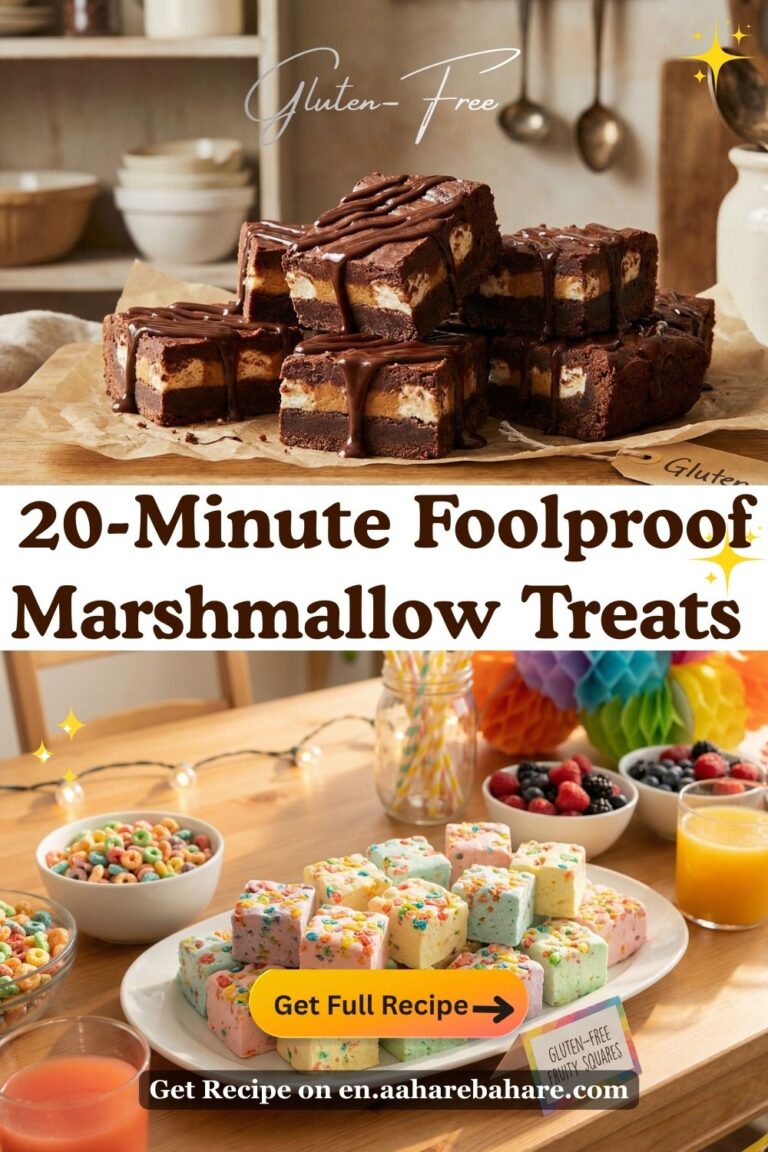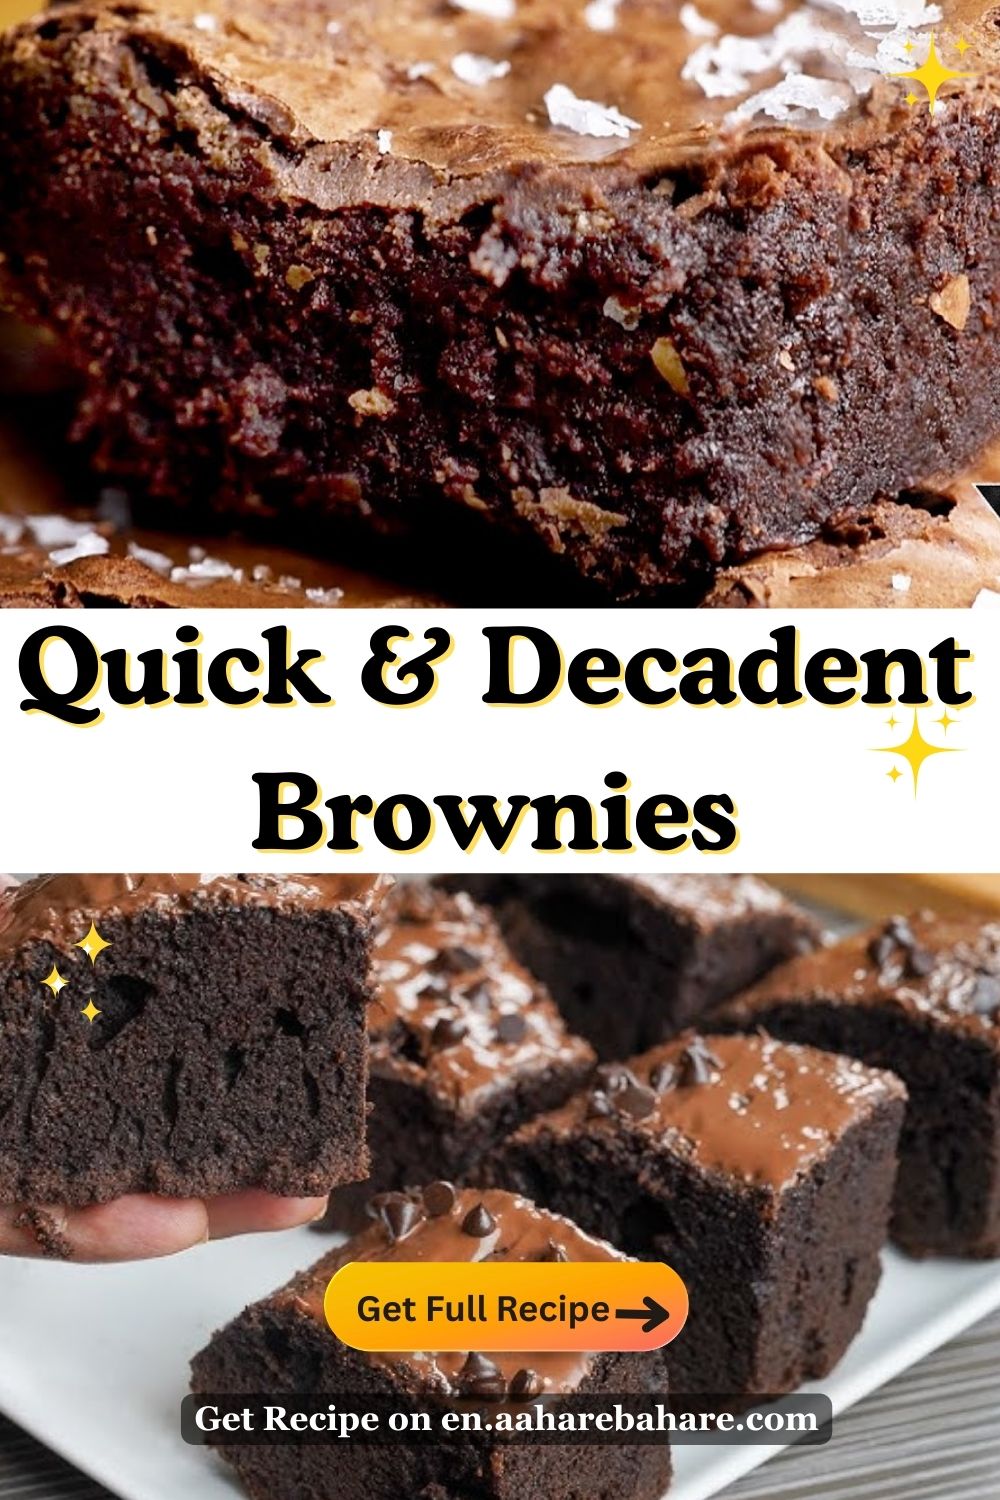
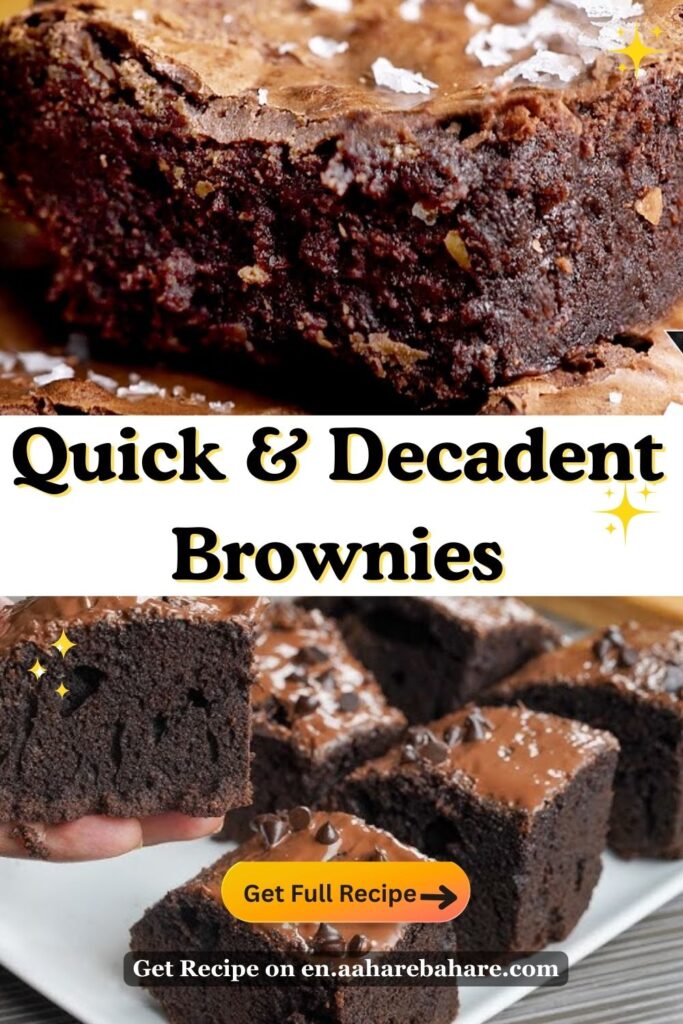
Quick & Decadent Brownies for the Ultimate Chocolate Fix
Rich Gluten-Free Brownies. If you’re here, you’re probably chasing brownies that are intensely chocolatey, fudgy, and reliably gluten-free—without tasting like a substitute. I get that craving. A few years back, I realized gluten-free baking could be just as indulgent as the “classic” version, you just need a few tweaks, a little patience, and a good sense of humor when the batter behaves like it’s auditioning for a circus. Today I’m sharing a friendly, no-fuss guide to rich gluten-free brownies that stay moist, glossy, and deeply satisfying from the first bite to the last crumb.
Why gluten-free brownies can be even better
Gluten-free batters often benefit from extra fat and moisture to achieve that dense, bite-soft texture we love in fudgy brownies. The right blend of gluten-free flours, plus a touch of binding agents and flavor boosters, can yield a brownie that’s surprisingly indulgent—without drying out or crumbling apart. The key is balance: avoid overmixing, choose the right flours, and respect bake time. FYI, a pinch of espresso powder intensifies the chocolate without turning the brownies into coffee-flavored chaos.
What you’ll need (serves 4)
Ingredients:
- 1/2 cup (115 g) unsalted butter
- 1/2 cup (100 g) granulated sugar
- 1/2 cup (95 g) brown sugar, packed
- 2 large eggs
- 1 teaspoon vanilla extract
- 1/3 cup (40 g) almond flour
- 1/3 cup (40 g) tapioca flour
- 1/3 cup (40 g) sorghum flour
- 1/4 cup (25 g) unsweetened cocoa powder, Dutch-processed for a smoother flavor
- 1/4 teaspoon salt
- 1/4 teaspoon baking powder (gluten-free)
- 2 tablespoons dark or semisweet chocolate chips (optional, for extra ooze)
- 1 teaspoon espresso powder (optional, enhances chocolate)
Equipment:
- 8×8 inch (20×20 cm) baking pan or a similar size for a thick brownie
- Parchment paper or a light coating of nonstick spray
- Mixing bowls, whisk or electric mixer, spatula
Basic method overview
- Melt butter and combine with sugars to create a glossy, silky base.
- Whisk in eggs and vanilla until the mixture looks like a pourable, velvety river.
- Sift and fold in the dry ingredients to avoid clumping, then gently mix in chocolate chips if using.
- Bake until just set in the center, but still glossy and fudgy. Let cool completely to set before slicing.
Step-by-step instructions (clear and practical)
- Preheat and prep:
- Preheat the oven to 350°F (175°C). Line an 8×8 inch pan with parchment, or grease well. Getting this right prevents sticking and makes clean slices easier.
- Melt and mix:
- In a small pot over low heat, melt butter. Remove from heat and whisk in granulated sugar and brown sugar until glossy. The warmth helps dissolve a little of the sugar, giving that fudgy sheen.
- Bind and enrich:
- Add eggs one at a time, then whisk in vanilla. The batter should look smooth and thick, not separated. If it looks too glossy or oily, you’re probably overheating the eggs—cool the mixture slightly before adding.
- Dry ingredients:
- In a separate bowl, whisk together almond flour, tapioca flour, sorghum flour, cocoa powder, salt, and baking powder. This dry mix is the backbone of gluten-free structure.
- Combine with care:
- Add the dry ingredients to the wet, folding gently just until combined. Overmixing can lead to tough brownies. If you’re using espresso powder, dissolve it in a teaspoon of hot water and fold it in at this stage for a deeper chocolate note.
- Add-ins:
- Fold in chocolate chips if you like extra gooey pockets. They’re optional but better than you’d expect in a gluten-free brownie.
- Bake and rest:
- Pour batter into the prepared pan and smooth the top. Bake for 22–28 minutes, depending on your oven and how fudgy you want them. The center should be just set and a bit jiggly. A tester inserted a centimeter from the edge should come out with a few moist crumbs, not wet batter.
- Let cool completely in the pan before slicing. This sets the brownies and makes cutting clean, neat squares possible.
Texture and flavor notes
- Fudgy is the goal: a rich, melt-in-your-mouth center with a slight crust on top. The almond flour adds a gentle nuttiness and helps moisture retention, while sorghum flour gives a seamless crumb without the grainy texture some GF blends can produce.
- Cocoa choice matters: Dutch-processed cocoa yields a smoother, mellower chocolate flavor. If you only have natural cocoa, you’ll still get fantastic brownies; they might be a touch lighter in color but equally delicious.
Customizations to suit your taste
- Ultra-rich: add an extra tablespoon of butter and another tablespoon of cocoa. You’ll end up with a richer, darker result.
- Nutty crunch: fold in chopped almonds or toasted pecans for texture contrast.
- Extra gooey: bake a minute or two less. Just watch closely to avoid setting into a dry finish.
- Flavor twists: swirl in a spoonful of peanut butter, tahini, or caramel before baking for a fun riff without losing gluten-free integrity.
Pairing ideas
- A scoop of vanilla ice cream on a warm brownie is classic, and the heat is what unlocks the gooey center.
- A dollop of whipped cream or a drizzle of salted caramel adds sophistication without complicating the gluten-free approach.
- Coffee or a robust black tea makes the chocolate pop without overpowering it.
Nutrition and dietary notes
- These brownies are gluten-free by design. If you have nut allergies, substitute almond flour with certified gluten-free oat flour or an all-purpose gluten-free blend that you know works in brownies.
- For a dairy-free version, swap butter for coconut oil or a neutral-tavored plant-based butter. The texture remains fudgy, though you may notice a slight shift in flavor.
Troubleshooting common issues
- Crumbly slices: This usually means they baked too long or the batter was too dry. Add an extra tablespoon of butter or a teaspoon of dairy-free milk next time.
- Bitter aftertaste: This can happen if the cocoa is too dark and bitter or if the brownies overbaked. Use a good quality cocoa and watch bake time closely.
- Flat top: That characteristic fudgy surface is intentional. If you want a domed top, you’d need to tweak leavening (not ideal for fudgy texture) or throw a quick glaze on top.
Frequently asked questions (FAQ)
- Can I freeze gluten-free brownies? Yes. Cut into squares, wrap individually, and freeze. Reheat gently or enjoy cold; both work.
- How do I keep brownies moist? The key is balance in fat, sugar, and bake time. Don’t overbake, and consider a tiny amount of moisture-retaining ingredients like a tablespoon of applesauce if you’re adjusting recipes.
- Are they safe for nut allergies? The base recipe uses almond flour, which is a tree nut. If nuts are a concern, substitute with a nut-free gluten-free flour blend and ensure no cross-contact in your kitchen.
Why this approach is reliable
- The balance of flours provides structure without the dryness sometimes seen in gluten-free baking.
- A light hand with mixing preserves the fudgy interior, and the optional espresso powder deepens the chocolate without turning the brownies into a coffee bomb.
- The recipe scales nicely for different serving sizes if your crowd grows—just keep the proportions intact and adjust the pan size to maintain the fudgy texture.
Comparative notes: brownie variations we’ve tried
- All-purpose GF blends: Some blends work brilliantly, giving you a familiar crumb, but you’ll still want to add extra butter or a touch of oil to maintain moisture.
- Oat flour-based recipes: Oats add a nice chew but can be drier if not balanced with fat; our version uses sorghum and almond to preserve moisture.
- Flourless versions: They’re intensely fudgy but can be more delicate to handle when cutting; the chosen flour mix here offers a robust, sliceable texture.
A quick, one-pan routine to test
- If you’re in a rush, mix in a single pot and bake in a shallow dish for a chewier bite. You might sacrifice some height, but you’ll still get that glossy, fudgy center that defines rich brownies.
Final tips to ensure success
- Use room-temperature eggs for better emulsion and a smoother batter.
- Sift cocoa and flours to prevent lumps and ensure an even crumb.
- Let the brownies cool completely before cutting for cleaner, neater pieces.
Conclusion
Rich gluten-free brownies aren’t a compromise—they’re a revelation with the right balance of ingredients and technique. With the almond-tapioca-sorghum blend, you get a moist, dense bite that stands up to toppings, ice cream, and stubborn party guests who insist gluten-free means “less delicious.” Give these a try, tweak to your taste, and enjoy the confidence that comes with a truly indulgent GF brownie.