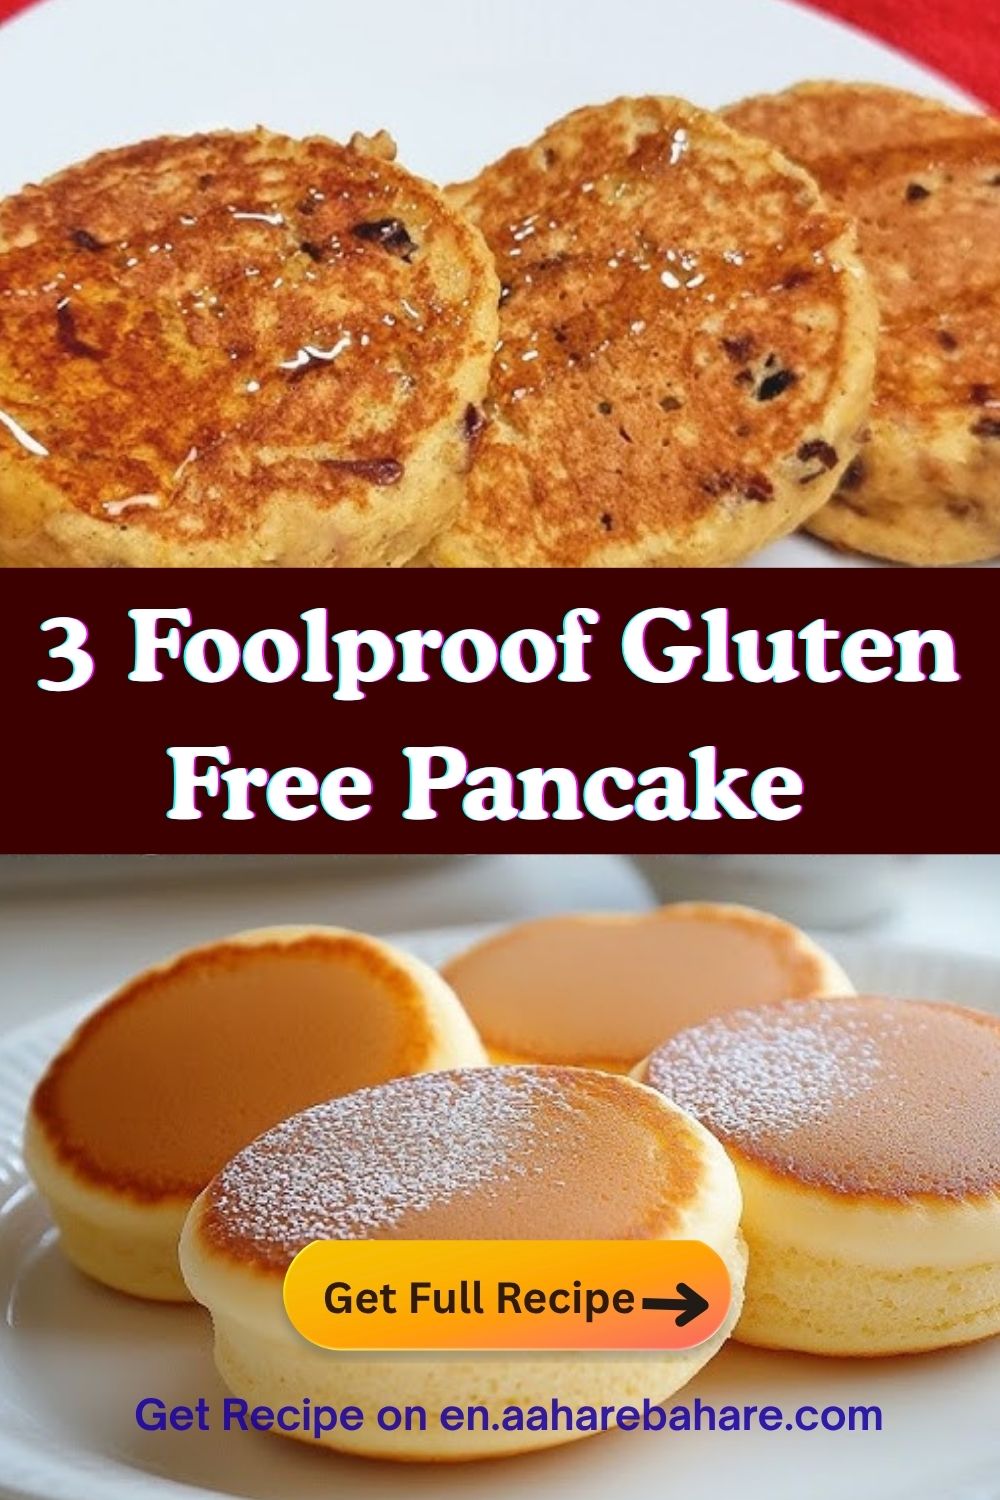
3 Foolproof Gluten Free Pancake Tricks for the Fluffiest Breakfast Ever
Gluten Free Pancake perfection is real, and trust me, you won’t even miss the gluten. These pancakes are everything you’ve been craving — fluffy, buttery, and melt-in-your-mouth good. I first made these for a friend who swore gluten-free pancakes always turned out flat and sad. Long story short, she ate four. So yeah, this recipe wins.
Why You’ll Love This Recipe
Because who doesn’t need a super easy, no-fuss breakfast that actually makes mornings feel cozy? These gluten-free pancakes have that classic diner flavor — light, golden, and just sweet enough — but without the heaviness.
Here’s why I love them (and you will too):
- Fluffy but tender — thanks to a little buttermilk magic.
- No weird aftertaste — some gluten-free mixes can be funky, but this blend nails it.
- Quick to whip up — you’ll spend more time topping them than mixing them.
- Kid-approved — even picky eaters demolish these.
Ever pull off a breakfast that makes everyone think you used a secret ingredient? Yep, that’s this one.
Recipe Card: Gluten Free Pancakes for 4
Prep Time: 10 minutes
Cook Time: 15 minutes
Total Time: 25 minutes
Servings: 4

Ingredients (U.S. Measurements)
- 1 1/2 cups gluten-free all-purpose flour (with xanthan gum included)
- 2 tablespoons sugar
- 2 teaspoons baking powder
- 1/2 teaspoon baking soda
- 1/2 teaspoon salt
- 1 1/4 cups buttermilk (room temp is best)
- 2 large eggs
- 3 tablespoons melted butter (plus more for the pan)
- 1 teaspoon vanilla extract
- Optional add-ins: chocolate chips, blueberries, or chopped pecans
Step-by-Step Instructions
1. Mix the Dry Ingredients
In a medium bowl, whisk together flour, sugar, baking powder, baking soda, and salt.
Pro tip: whisking adds air so your pancakes stay fluffy. No clumps allowed.
2. Combine the Wet Stuff
In another bowl, beat together eggs, buttermilk, melted butter, and vanilla until smooth.
I love this step because everything smells buttery and sweet — instant mood booster.
3. Bring It All Together
Pour the wet ingredients into the dry and stir gently until combined. Some lumps? Totally fine. Overmixing is the enemy of fluffiness. Think “lazy stir,” not “gym workout.”
4. Preheat and Butter the Pan
Heat a griddle or large skillet over medium heat (about 350°F if you’re fancy with a griddle). Brush lightly with butter or oil.
When it sizzles just a little, it’s go time.
5. Cook the Pancakes
Scoop about 1/4 cup batter per pancake. Cook until bubbles form and the edges look set (around 2 minutes), then flip; cook the other side until golden and fluffy.
Don’t walk away — they cook fast! Been there, done that, burned the first batch. 😉
6. Keep Warm (Optional)
Got a crowd? Pop cooked pancakes in a 200°F oven on a parchment-lined sheet while you finish the batch. That way, everyone eats hot pancakes together. Perfect Saturday morning vibes.
Tips, Tricks & Variations
Make ‘Em Fluffier
- Use buttermilk — it reacts with baking soda for that dreamy rise.
- Let the batter rest 5 minutes before cooking. This hydrates the flour and lightens the texture.
Avoid Flat Pancakes
- Don’t press down after flipping (seriously, don’t).
- Use a gentle hand when mixing — the less stirring, the better.
Add Some Fun
- Chocolate Chip Dream: Stir in 1/2 cup mini chocolate chips.
- Berry Lovers: Add fresh blueberries for that sweet-tart pop.
- Banana Nut: Fold in mashed banana and toasted pecans.
Make It Dairy-Free
Substitute with almond milk + 1 teaspoon vinegar for buttermilk and use melted coconut oil instead of butter. Still fluffy. Still delicious.
Why These Work Every Time
The secret here is balance. Gluten-free flour can be tricky — too dry and you’ve got cardboard, too wet and it’s mush. But the buttermilk + melted butter combo gives just enough moisture to keep them soft inside and golden outside.
And if you’re wondering which flour blend to use, I’ve tried a bunch. Bob’s Red Mill 1-to-1 baking flour and King Arthur Measure for Measure both work beautifully. Avoid plain rice flour blends — they get gritty real quick.
Make-Ahead & Storage Tips
We’ve all had that “ugh, too much batter” moment. Here’s what to do:
Batter Storage
- Store leftover batter in an airtight container in the fridge for up to 2 days.
- When ready, stir gently (no beating!) before cooking again.
Cooked Pancake Storage
- Refrigerate leftovers in a sealed container for 3–4 days.
- Or freeze individually between parchment layers in a zip bag — they keep for up to 2 months.
To reheat: pop them in the toaster or microwave for 30–45 seconds. IMO, the toaster gives a crisp edge that’s so darn good.
Serving Suggestions
You’ve got options. These pancakes play nice with pretty much anything:
- Classic combo: butter + pure maple syrup (trust me, go for the real stuff).
- Berry blast: top with sliced strawberries, a scoop of Greek yogurt, and a drizzle of honey.
- Weekend treat: add whipped cream and a sprinkle of cinnamon sugar — brunch-worthy any day.
- Savory twist: try crispy bacon or sausage on the side. Sweet and salty heaven.
Ever had breakfast for dinner? These totally work. Throw on some peanut butter, grab a fork, and call it a night.
Why “Gluten Free” Doesn’t Mean “Taste-Free”
Let’s be honest — some gluten-free recipes taste like punishment. These don’t.
Here’s why these pancakes actually taste like the real deal:
- Structure: the eggs and baking soda replace gluten’s elasticity, so no dense pancakes.
- Flavor: butter brings richness, and buttermilk adds that subtle tang.
- Texture: the batter stays smooth instead of gritty, so every bite is soft, not sandy.
No one at the table has to know they’re gluten-free unless you tell them. They’ll just ask for seconds. 😉
Common Questions
Can I make the batter ahead?
Yep! Just refrigerate it overnight. Give it a gentle stir before cooking, adding a splash of milk if it thickens too much.
What if I don’t have buttermilk?
Easy fix. Mix 1 cup milk with 1 tablespoon white vinegar or lemon juice, let sit 5 minutes. Done.
Can I freeze them?
Absolutely. Stack with parchment between layers and freeze flat. They taste just as fresh after a quick toaster revival.
Can I double the recipe?
For sure. This recipe doubles perfectly if you’re feeding a crowd — or just yourself all week. No judgment.
Extra Pro Tips
- Use medium heat only — too hot and you’ll burn the outside before the inside cooks.
- Coat your griddle with a thin layer of butter, not a puddle. Think “glow,” not “swamp.”
- Don’t skip the vanilla — that little hint makes them smell like a bakery.
- Add a pinch of cinnamon if you want cozy fall vibes.
Cooking is supposed to be fun, right? Keep it relaxed, sip your coffee, and enjoy that first pancake test-run (chef’s tax, obviously).
Final Thoughts
If I had to name one breakfast that truly feels like a big weekend hug, these gluten free pancakes would win. They’re simple, foolproof, and guaranteed to make your morning better — even if you’re still in your pajamas at noon.
So grab your bowl and whisk, fire up that skillet, and get flipping. Tag me if you try this recipe — I’d love to see what toppings you go wild with. Make it this weekend and thank me later.