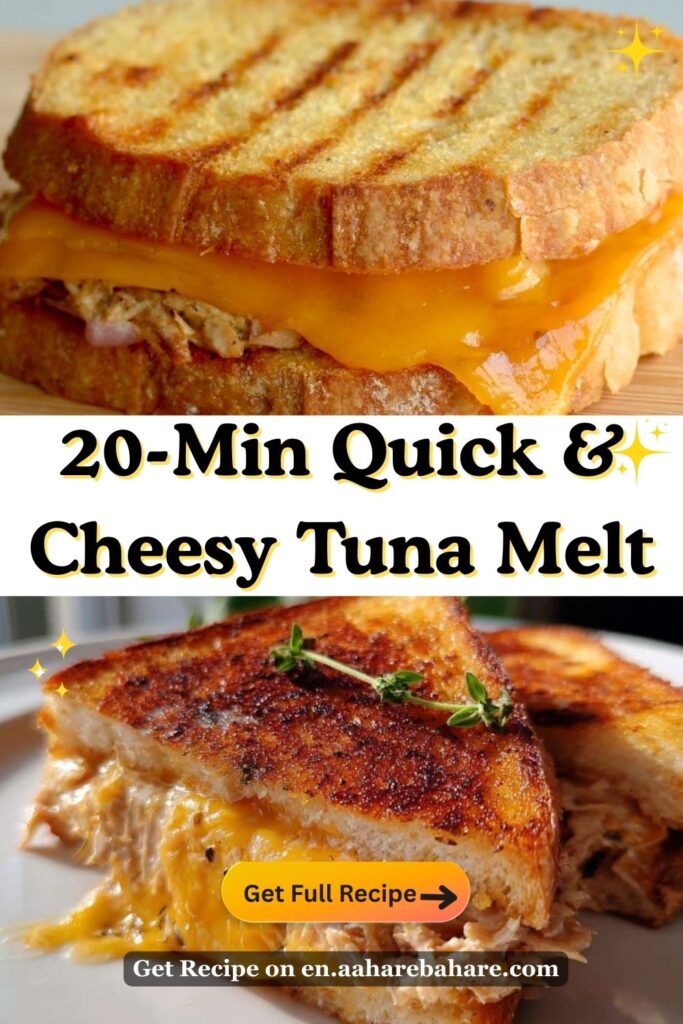
20-Min Quick & Cheesy Tuna Melt Recipe for Easy Lunch
Tuna melt recipes that hit the spot, every single time. Ever crave something cozy, quick, and totally satisfying? Tuna melts are the answer when you want comfort food without turning the kitchen into a battlefield. I’ve whipped up plenty of these over the years, tweaking sauces, cheeses, and breads until one magic combo emerged. Let’s dive into a friendly, practical guide that doubles as a tasty reference for feeding four hungry people with confidence.
Why tuna melts deserve a prime spot in your kitchen
If you’ve got canned tuna, bread, and a cheesy smile, you’re halfway there. Tuna melts are essentially quick upgrades to a classic pantry staple. They’re versatile, forgiving, and surprisingly customizable. Want extra crunch? Try a crusty bread. Prefer it lighter? A soft roll works wonders. This guide will walk you through each step, share tips from my own kitchen experiments, and include a complete four-serving plan with precise ingredients and timing.
Essential components of a great tuna melt
- Tuna: Use high-quality canned tuna in water or oil, drained well.
- Binder: A small amount of mayonnaise or yogurt keeps the mixture creamy without turning soupy.
- Flavor boosters: Finely diced celery or pickles, a squeeze of lemon, a pinch of black pepper, and a dab of Dijon or grainy mustard.
- Texture: Fold gently to keep some chunkiness; you don’t want paste, you want a creamy noddle of tuna that still resembles a sandwich filling.
H3: The cheese - Classic cheddar, Swiss, or provolone are reliable with good melt. For a richer bite, mix a mild cheddar with Parmesan dust or mozzarella for stretch.
H3: The bread - Load-bearing bread works best: sturdy sourdough, sturdy whole-wheat, rye, or a thick-cut baguette slice. If you’re using soft sandwich bread, you’ll want to toast it lightly first to prevent sogginess.
H3: The finish - Butter or olive oil for toasting adds flavor and crispness. A quick spin under the broiler at the end can give a perfect golden top.
Tuna Melt Recipe ingredients for four
- Canned tuna: 2 large standard cans (about 5 oz each), drained
- Mayonnaise: 3–4 tablespoons, plus extra if you like it creamier
- Celery: 1/2 cup finely diced
- Pickles or sweet relish: 1/4 cup finely diced (optional but recommended)
- Lemon juice: 1 teaspoon
- Dijon mustard: 1 teaspoon
- Salt and pepper: to taste
- Cheese: 8 slices of cheese (about 2 cups shredded or sliced, depending on preference)
- Bread: 8 slices sturdy sandwich bread or 4 rolls suitable for melts
- Butter: 2–3 tablespoons, melted (for toasting)
- Optional greens: a handful of arugula or spinach for a fresh contrast
- Optional extras: a pinch of paprika or hot sauce if you like a kick
Cooking timing on Tuna Melt
- Prep time: 10 minutes
- Assembly time: 5 minutes
- Toasting time: 6–8 minutes total
- Broil finish (optional): 2 minutes
- Total time: about 20–24 minutes
Step-by-step: how to make four perfect tuna melts
- In a bowl, combine tuna, mayonnaise, celery, pickles, lemon juice, Dijon, salt, and pepper.
- Mix gently until everything is evenly distributed. Taste and adjust seasoning if needed.
- Pro tip: Chill the filling for 5–10 minutes if you have the time; it helps the flavors meld.
Prep the bread
- Lightly toast the bread or rolls to give them backbone. If using crusty bread, you can toast just the surface to avoid over-crisping.
- Brush the outer sides with melted butter for rich browning.
H3: 3) Assemble - Lay out four bread slices, outer sides down. Spoon a generous portion of tuna filling onto each slice, then add a layer of cheese on top.
- Cap with the remaining bread slices, buttered side up.
H3: 4) Cook - Stovetop method: Heat a skillet over medium heat. Place the sandwiches in the skillet and cook for 3–4 minutes per side, pressing gently with a spatula until golden brown and cheese melts.
- Oven method: Preheat to 425°F (220°C). Place sandwiches on a sheet tray and bake for 8–10 minutes, then broil for 1–2 minutes to finish the crust.
- Tip: If your cheese isn’t melting evenly, cover the pan with a lid for a minute to trap heat and speed up melting.
Foil-wrapped “totally customizable”
- Swap in mayonnaise for avocado mayo or a yogurt-mayo mix for tang and lighter texture.
- Add capers for a briny bite or a dash of hot sauce for a zingy kick.
H3: Cheesy permutations - For a richer melt, blend mozzarella with cheddar for a stretchy top.
- Try Gruyère for a nutty, melty crown that pairs nicely with pickle and lemon.
H3: Bread dynamics - Crusty bread yields a crunchier bite; soft bread gives a more classic, gooey melt.
- For a gluten-free approach, use sturdy gluten-free bread that can stand up to the filling.
Pairings and serving ideas
- Simple greens with a bright vinaigrette to cut the richness.
- A light tomato salad with red onion for acidity.
H3: Dips and extras - A small bowl of roasted pepper jam or tangy aioli can become a fun dipping option.
H3: Beverage advice - A cold sparkling lemon water or a light IPA can refresh the palate between bites.
Common pitfalls (and how to avoid them)
- Too dry filling: If the mix feels dry, add a touch more mayo or a splash of lemon juice to brighten.
- Soggy bread: Toast the bread lightly and don’t overload with filling. If needed, assemble and grill just before serving.
- Cheese not melting: Use a lid on the pan to trap heat, or finish under the broiler for a minute.
Practical tips from my kitchen cooking on Tuna Melt
- Pre-measure all ingredients before you start. A tidy setup speeds up the process and reduces thinking time.
- If cooking for a crowd, prep the filling first, then assemble as you go. It keeps the workflow smooth and minimizes chaos.
- Keep some chunky celery and pickle pieces for bite. A fully smooth mix can feel dull in comparison.
- Look for tuna packed in olive oil for extra flavor, then drain well. If you prefer a lighter option, water-packed tuna works fine and keeps things lean.
- You can prepare the tuna filling a day ahead and refrigerate it. Assemble and cook the melts just before serving for the best texture.
- Sturdy bread like sourdough, country loaf, or thick-cut crusty bread performs best. Soft sandwich bread is workable if toasted first and not overloaded with filling.
- Use light mayo or yogurt-based mayo to cut calories. Load up on celery for texture and brightness without adding heaviness.
- The cheese should be melted, the bread golden brown, and the interior warm all the way through.
Final thoughts: why you’ll love this
Tuna melts are a real kitchen workhorse: fast, flexible, and forgiving. They accommodate a range of tastes with minimal fuss, which makes them perfect for casual weeknights or weekend lunches. I love how a simple can of tuna becomes a comforting meal with the right cheese and bread. If you’re chasing a reliable crowd-pleaser, this recipe delivers every time.
FAQ Cheesy Tuna Melt Recipe
Q: Can I make this tuna melt in an air fryer?
A: Yep! Preheat to 375°F, cook 5-6 minutes flipping halfway. Crispy results, less oil splatter.
Q: How do I store leftovers?
A: Assemble and fridge up to 2 days (tuna salad only). Reheat in skillet—microwave kills crisp.
Q: Is this recipe gluten-free?
A: Swap bread for GF sourdough. Same cheesy magic.
Q: What if I hate mayo?
A: Use mashed avocado or yogurt. Still binds, zero regret.